 English
 русский
Content
Understanding What Your Non-Stick Baking Liner Actually Does
Baking parchment paper is essentially paper that has been treated with a thin, heat-resistant silicone coating. This coating is what gives the material its signature non-stick properties, allowing baked goods to release effortlessly from pans and baking trays without leaving sticky residue or tearing apart. Unlike wax paper, which melts at relatively low temperatures and can smoke or even catch fire in a hot oven, proper kitchen parchment paper is engineered to withstand typical baking temperatures up to 425°F or 450°F depending on the manufacturer. Understanding this thermal limit is crucial for preventing ruined batches and maintaining food safety. When you line a cookie sheet or cake tin with a high-quality parchment baking sheet, the silicone layer creates a physical barrier that distributes heat evenly while repelling fats and sugars. This means fewer burnt bottoms, easier transfers, and significantly faster cleanup. Always check the packaging for temperature ratings before tossing it into the oven, especially if you are experimenting with high-heat roasting or broiler-assisted crisping.
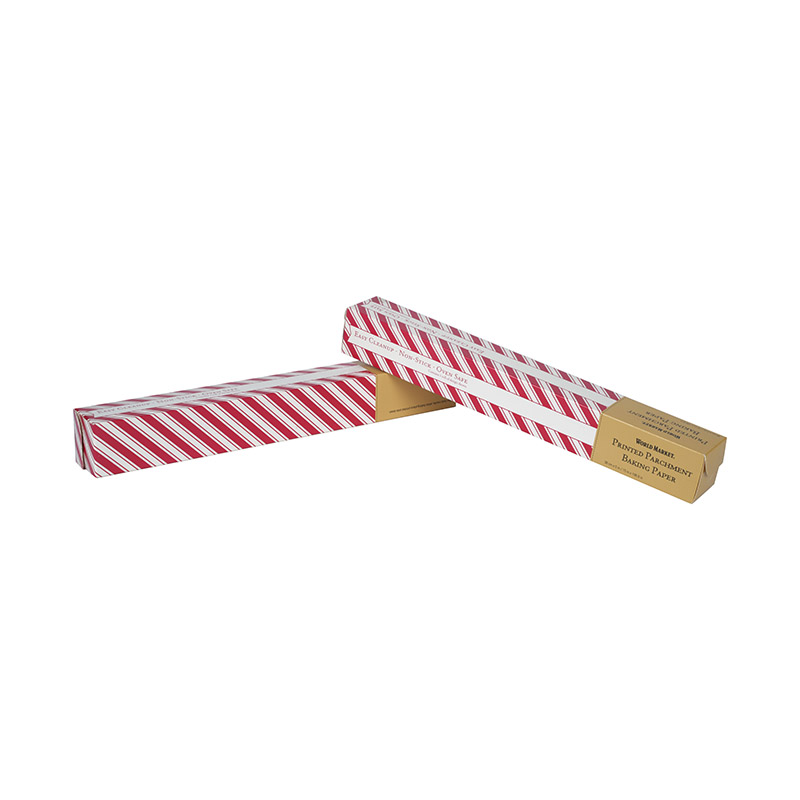
Picking the Right Roll or Sheet for Your Kitchen Needs
Not all oven-safe papers are created equal, and choosing the right format can save you both time and money during busy cooking sessions. Most shoppers will encounter either pre-cut sheets or continuous rolls, each serving slightly different culinary workflows. Rolls offer maximum customization, allowing you to trim exact dimensions for oddly shaped casserole dishes, rectangular loaf pans, or oversized sheet cakes. Pre-cut sheets, on the other hand, come standardized for half-sheet and quarter-sheet pans, making them ideal for quick cookie batches or sheet pan dinners where precision lining is needed without the hassle of measuring and cutting. You will also need to decide between bleached and unbleached varieties. Bleached baking parchment paper undergoes a chemical chlorine process that gives it a clean, bright white appearance, while unbleached versions retain their natural brown tone and appeal to cooks who prefer fewer processing chemicals. Both perform identically in the oven, so the choice ultimately comes down to personal preference and aesthetic matching for your kitchen setup.
Pre-Cut Sheets Versus Continuous Rolls
- Pre-cut sheets eliminate guesswork and fit standard half-sheet pans perfectly straight out of the box, making them ideal for bakers who value speed and consistency over customization.
- Continuous rolls allow you to cut exact lengths for muffin tins, round cake pans, or homemade bread baskets, reducing waste when you only need a small liner for delicate tasks.
- Rolls often come with built-in rulers or cutting guides along the side of the packaging, helping you achieve straight, even strips without tearing uneven edges that could cause batter seepage.
Step-By-Step Techniques for Flawless Results
Getting the most out of your silicone-coated baking paper requires more than just tossing a sheet into the pan and pouring in batter. Proper preparation ensures the liner stays flat, prevents curling edges, and guarantees even baking. When working with metal baking tins that tend to warp under heat, lightly crumple the parchment into a loose ball before smoothing it back out. This breaks up the tight paper fibers, making the sheet more pliable and far easier to press snugly into deep cake rounds or springform pans without it springing back up. For cookie trays, always place the paper after the pan has cooled to room temperature from previous batches, as laying it on a hot tray can cause the edges to curl and create uneven heat pockets. If you are lining a loaf pan, cut two overlapping strips that cross in the middle, extending past the rim on both sides. These overhangs act as natural lifting handles, allowing you to pull delicate brownies or quick breads straight out without scraping the sides with a knife and compromising the structure.
Lining Cake Pans and Cookie Sheets
Round cake pans require a slightly different approach than flat sheets. Cut a circle that matches the exact diameter of the pan bottom by folding a square sheet in half twice, placing the pan on top, tracing the edge, and cutting. This method guarantees a perfect fit every time. Place the circle at the bottom, then run a strip along the interior wall, securing it with a light dab of cooking spray if necessary. For cookie sheets, simply lay the full sheet flat and smooth out air bubbles with your palm. Never grease the paper unless the recipe explicitly calls for it, as the added fat can cause delicate cookies to spread too thin and burn at the edges. The non-stick baking liner already does the heavy lifting, so extra butter or spray is usually redundant and counterproductive.
Wrapping Fish and Vegetables
Beyond traditional baking, parchment paper excels at the French cooking technique known as en papillote, which involves sealing ingredients inside a folded packet to steam-cook them in their own juices. Cut a large heart shape from your kitchen parchment sheets, place seasoned fish fillets or sliced vegetables along the spine, fold the edges over, and crimp tightly to lock in moisture. As the packet bakes, steam builds up inside, gently cooking delicate proteins and infusing vegetables with herbs without drying them out. When you tear open the packet at the table, the aromatic steam releases instantly. Always place the sealed pouches directly on a rimmed baking sheet to catch any accidental leaks, and avoid using sharp tools when opening to prevent scratching your cookware or losing flavorful juices.
Common Mistakes That Ruin Your Bake
| Mistake | Why It Fails | Quick Fix |
| Placing paper under direct broiler heat | Exceeds thermal tolerance, causing charring or smoke | Switch to foil or move rack to middle position |
| Using wax paper instead of baking parchment | Wax coating melts, transferring to food and smoking | Only use wax paper for no-heat prep like rolling dough |
| Reusing paper for raw meat or wet batters | Porous fibers absorb juices, creating cross-contamination risks | Discard immediately after single use for raw items |
Smart Cleanup and Reuse Strategies
While baking parchment paper is technically designed for single use, it can often be salvaged for a second round if you handle it correctly. If you baked plain cookies or roasted dry vegetables that did not leave heavy grease, caramelized sugars, or raw juices on the liner, gently wipe it down with a dry paper towel and let it cool completely before storing it flat in a drawer for light-duty tasks. Never attempt to reuse sheets that show visible scorch marks, torn edges, or sticky sugar buildup, as those imperfections compromise the non-stick surface and can cause your next batch to burn unevenly. When it is time to dispose of your used sheets, check local waste management guidelines. Most standard parchment liners are coated in silicone rather than plastic, meaning they are generally not recyclable but can sometimes be composted in industrial facilities that handle coated papers. If you have a home compost bin, tear the used sheets into small strips to accelerate breakdown, avoiding any sheets that were heavily soiled with dairy or meat products. By understanding these practical limits and storage habits, you stretch the lifespan of your supplies while keeping your kitchen workflow smooth and efficient.


